Discover a step-by-step guide to creating engaging educational animation videos using Create Studio. Learn how to add characters, backgrounds, voiceovers, and interactive animations to make captivating videos for kids. Get started with Create Studio today for easy and professional animation video production!
Welcome to Ai Add Action! Learn to Create an Educational Animation Video with Create Studio

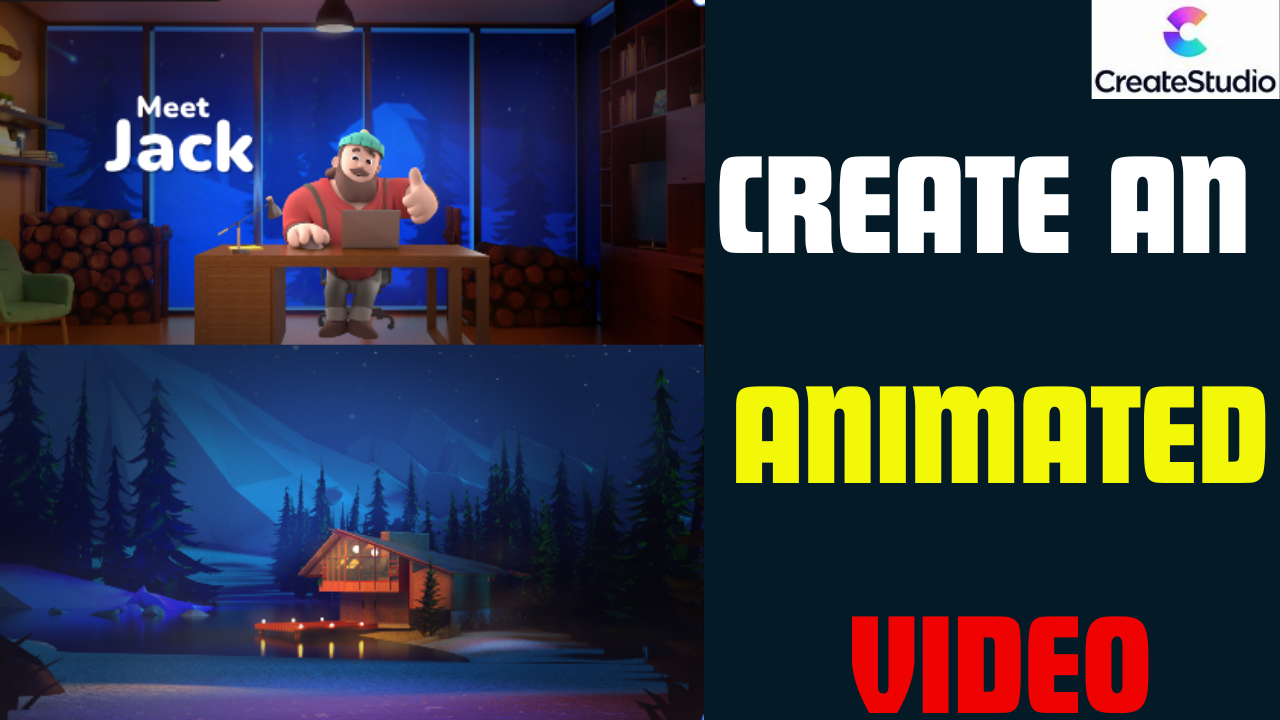
Welcome back to AI Add Action! Following up on our last video, today, we’ll guide you through creating an educational animation video designed to engage young viewers. Using Create Studio, we’ll cover each step, from setting up the project to adding characters, backgrounds, voiceovers, and animations. Let’s get started!
Step 1: Start a New Project
Upon opening Create Studio, the main screen will appear. To start, click “New Project” and select Full HD resolution, which is perfect for YouTube videos.
Step 2: Add Animated Characters
To create a warm, friendly vibe for kids, we’ll add a 3D character. For this example, let’s use “Zach” from Create Studio’s library. You can easily customize Zach’s appearance to suit your video style.
Step 3: Add a Simple Gradient Background
To keep the focus on the character, choose a simple gradient background. Just create a rectangle shape, then adjust the colors to your preference. This straightforward background style keeps the video clear and engaging for young audiences.
Step 4: Add Voiceover
Create Studio’s built-in Text-to-Speech feature is a convenient tool for adding voiceovers. For this project, we’ll select an American English voice to say, “Hello kids, today we’re going to learn the alphabet! Are you ready?” This engaging opening line will capture the attention of young viewers.
Step 5: Animate the Character
To make Zach interact with the kids, we’ll add some fun animations. First, apply the “jump in” effect so Zach bounces onto the screen, then add a “wave” action to make him wave hello. These animations can be adjusted for timing on the timeline for smooth transitions.
Step 6: Add Text and Effects for Alphabet Letters
When Zach introduces a letter, we’ll add large, bold “Alphabets” text on the screen to highlight it. Choose a font from Create Studio’s rich library or upload your own. For added flair, apply a “scale loop” effect to create a gentle zoom in and out animation that brings the text to life.
Step 7: Add Illustrative Images
Illustrations make educational videos more engaging. To reinforce the letter “A,” we’ll add an image of an apple from the Jiffy library. Zach can then say, “This is the letter A. A is for apple!”
Step 8: Add Background Music and Sound Effects
Background music and sound effects enhance the video’s appeal. Select a track from Create Studio’s music library, then adjust the volume so it doesn’t overpower the voiceover. This combination of music and narration keeps kids entertained and focused.
Step 9: Export the Video
Once everything is set, click “Publish”, choose your preferred video quality, and select the folder to save it in. Name your video, and Create Studio will process and export it within seconds.
Conclusion: Create Studio Makes Animation Video Production Easy and Fun
And that’s it! With Create Studio 3.0, creating animated videos has never been easier or faster. If you found this guide helpful and want to try Create Studio for yourself, please support us by using the link in the description.
Stay tuned for more helpful tutorials on Ai Add Action – making animation accessible and enjoyable!