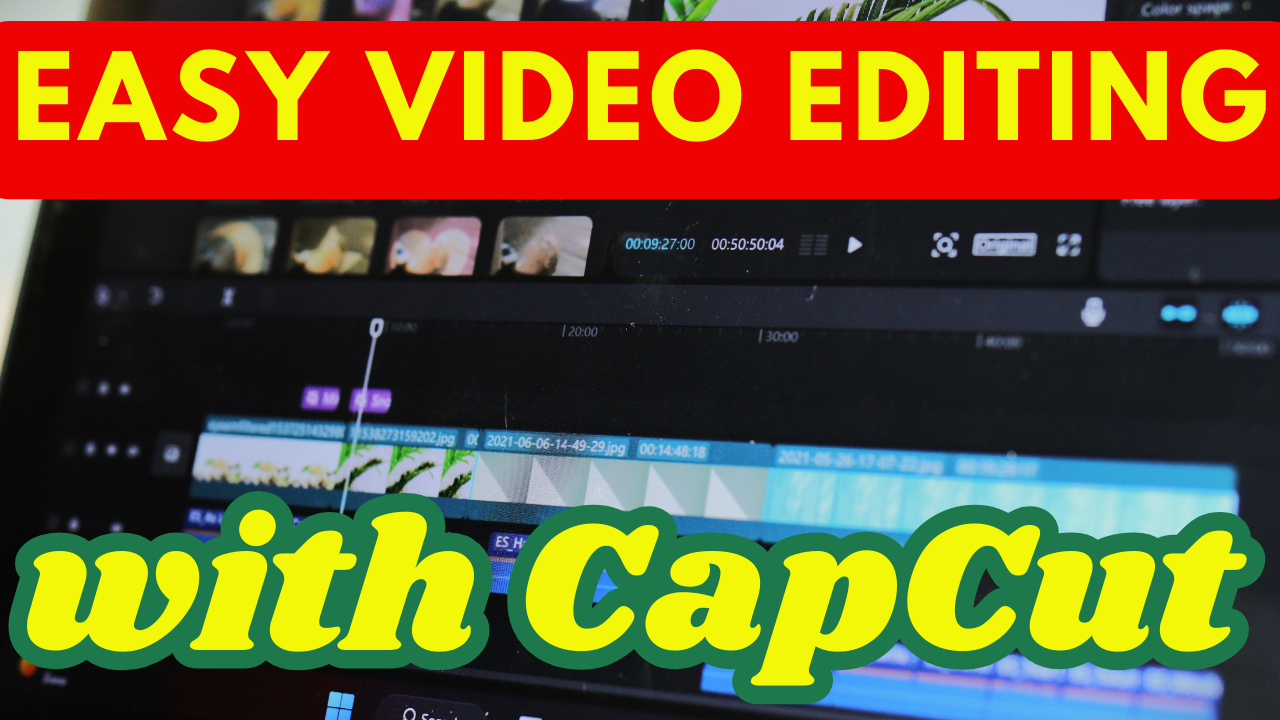
Discover how to use Create Studio 3.x – a professional animation video software for beginners and experts alike. A detailed guide on features such as adding characters, inserting audio, and exporting high-quality videos for YouTube, TikTok, and Instagram.
Introduction to Create Studio 3.x – A Powerful and User-Friendly Video Animation Tool

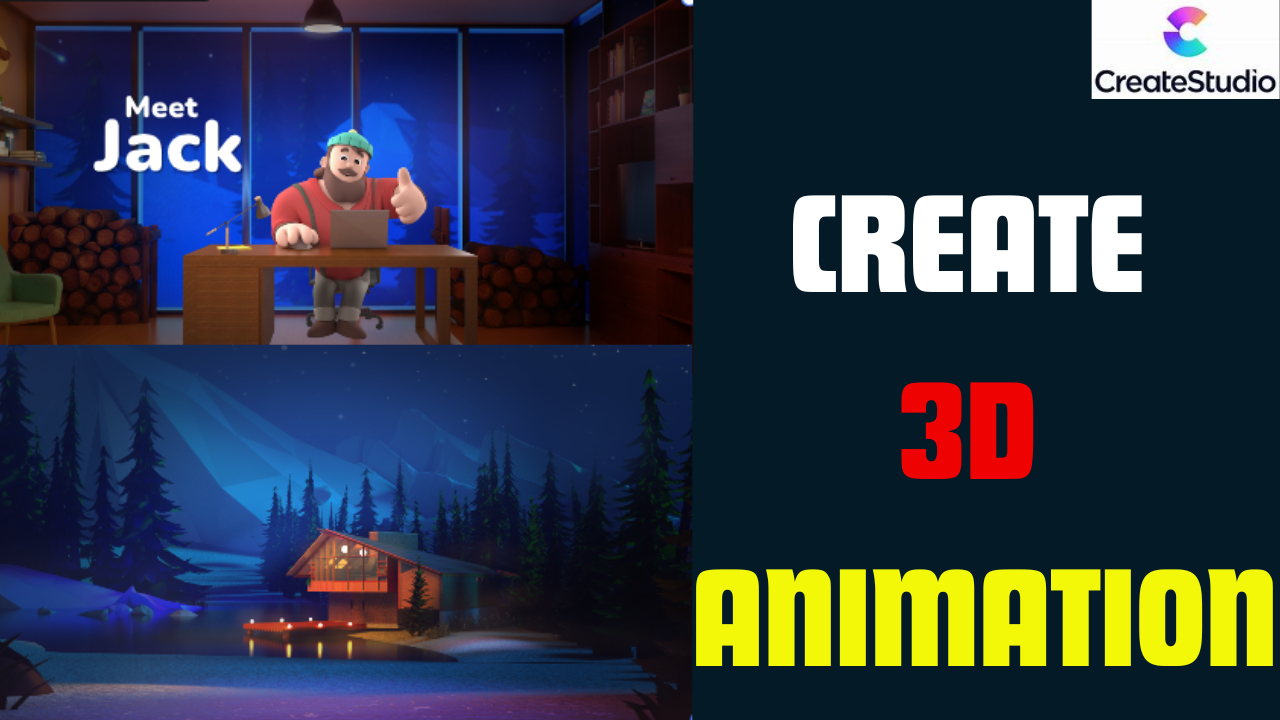
Create Studio 3.x is the latest version of Create Studio, a video animation software that enables both beginners and professionals to create impressive videos effortlessly. With its intuitive interface, Create Studio 3.x makes it easy to utilize a range of features from basic to advanced, including 3D and 2D characters, text-to-speech capabilities, AI-powered lip-syncing, and a host of exciting effects.
Join AI Add Action as we explore how to make the most of Create Studio 3.x to create captivating, professional videos!
1. Getting Started with Create Studio 3.x
Step 1: Go to the official website to download and install Create Studio 3.x on your computer. Log in or create a new account to start using the software.
2. Getting Familiar with the Main Interface of Create Studio 3.x
Create Studio 3.x has an intuitive, user-friendly interface with the following main areas:
- Top Toolbar: Includes key tools like Save, Undo, Redo, and Publish.
- Canvas (Design Area): This is where you can view and interact directly with the video elements.
- Timeline: Used to manage scenes, effects, and audio for seamless editing.
- Left Toolbar: Contains options like Media Library, Backgrounds, Characters, Text, and Animations.
3. How to Create a New Project
- Start a new project: Click on “New Project” on the main screen.
- Choose your resolution: Customize the video size for Full HD (YouTube), vertical (TikTok), or square (Instagram).
- Name your project: Enter the project name and click “Create” to begin.
4. Adding Characters and Backgrounds to Set the Scene
Adding Characters
- Go to Characters from the left toolbar and select 3D or 2D Character.
- Customize the character’s outfit, gestures, and colors to suit your video style.
Adding Backgrounds
- Choose Backgrounds from the left toolbar to access a variety of static, animated, and 3D backgrounds.
- You can also upload your own background by clicking on Upload Image.
5. Creating Dialogue and Sound Effects
Create Studio 3.x includes a text-to-speech tool that allows you to generate natural-sounding dialogue for your video.
- Go to Voice, select Text-to-Speech, and type in the dialogue. Choose the language and voice that best suits your project.
- Drag the audio clip from the library into the timeline and adjust its position to match your scenes.
6. Adding Text and Animation Effects
Adding Text
- Click on Text in the left toolbar and select the desired text style.
- Type in your content, and customize the font, color, and size as needed.
Adding Animation Effects
- Go to Animations and choose effects like Fade In, Zoom, Bounce, etc., to make your text and characters more dynamic.
- Drag and drop the animation effect onto the Timeline or Canvas to apply it.
7. Syncing Character Movements with Dialogue
Create Studio 3.x uses AI to automatically sync character lip movements and actions with the voiceover:
- Select a character and go to Action to add movements like wave or jump.
- Right-click on the dialogue and choose Sync with Character to align the lip movements with the character’s speech.
8. Adding Sound Effects and Background Music
- Click on Music in the left toolbar and choose FX to add sound effects like footsteps, laughter, etc.
- Add background music: Choose a track from the library or upload your own music.
- Adjust volume to ensure the background music doesn’t overpower the dialogue.
9. Reviewing and Exporting Your High-Quality Video
Once you’ve completed your edits, review and export your video:
- Click Play on the timeline to preview and ensure that all effects are smooth and synced.
- Publish video:
- Click on Publish in the top toolbar.
- Choose your preferred video quality (720p, 1080p, or 4K).
- Name the file, select the save location, and click Save to export your video.
Conclusion: An Easy and Effective Video Creation Experience with Create Studio 3.x
Create Studio 3.x is an outstanding animation video tool for both beginners and experts. With its user-friendly interface, AI-driven voice synchronization, and rich effects library, Create Studio 3.x allows you to produce professional videos quickly and easily.
If you find this guide helpful and want to try Create Studio 3.x, visit AI Add Action for more exciting video creation tips and tools!